Getting Started
Overview
To use the DataMapper for creating data transformations, you need to add and configure a DataMapper step in your Camel route. This guide covers the essential steps to get started with the DataMapper interface.
Adding a DataMapper step
Now let’s add a DataMapper step to your Camel route. The DataMapper provides a visual interface for creating data transformations without writing XSLT code manually.
Add a Kaoto DataMapper step in your Camel route. When you
Append,PrependorReplacea step in the Kaoto Design view, you can find the Kaoto DataMapper step in the catalog.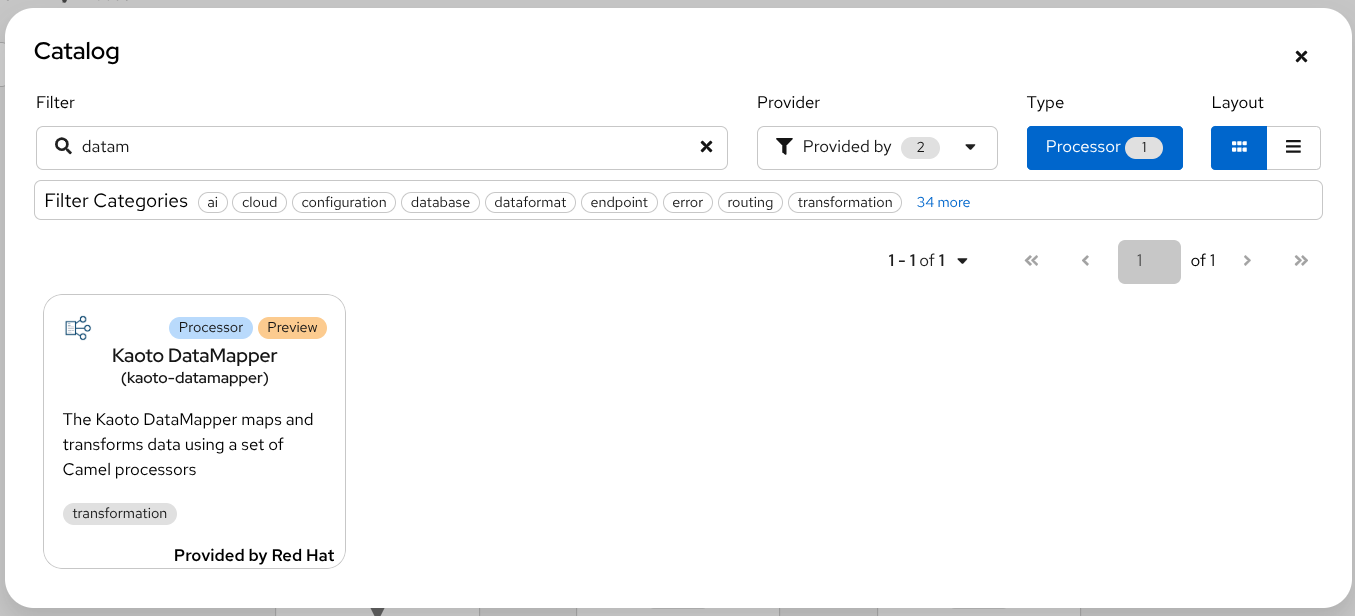
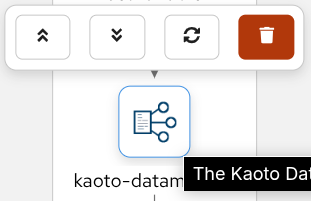
DataMapper Catalog Tile Click the added Kaoto DataMapper step in the Kaoto Design to open the config form.
Kaoto DataMapper step In the config form, click the
Configurebutton to open the visual DataMapper editor.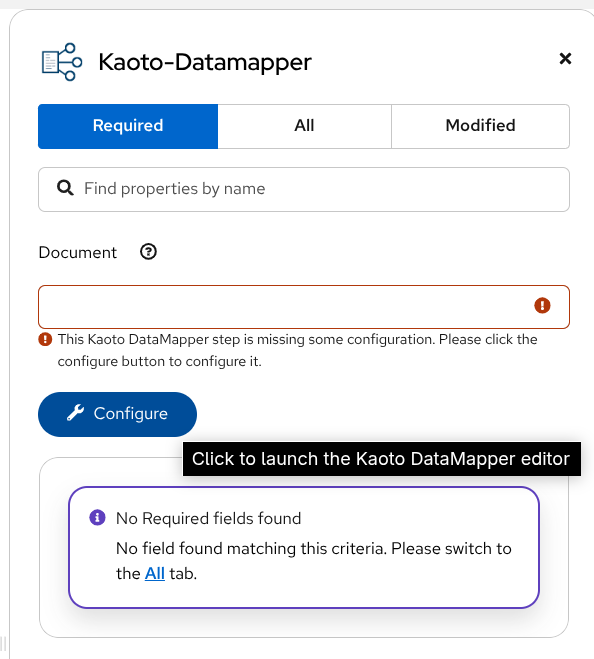
DataMapper Configure button This will open the visual DataMapper editor where you can create your data mappings.
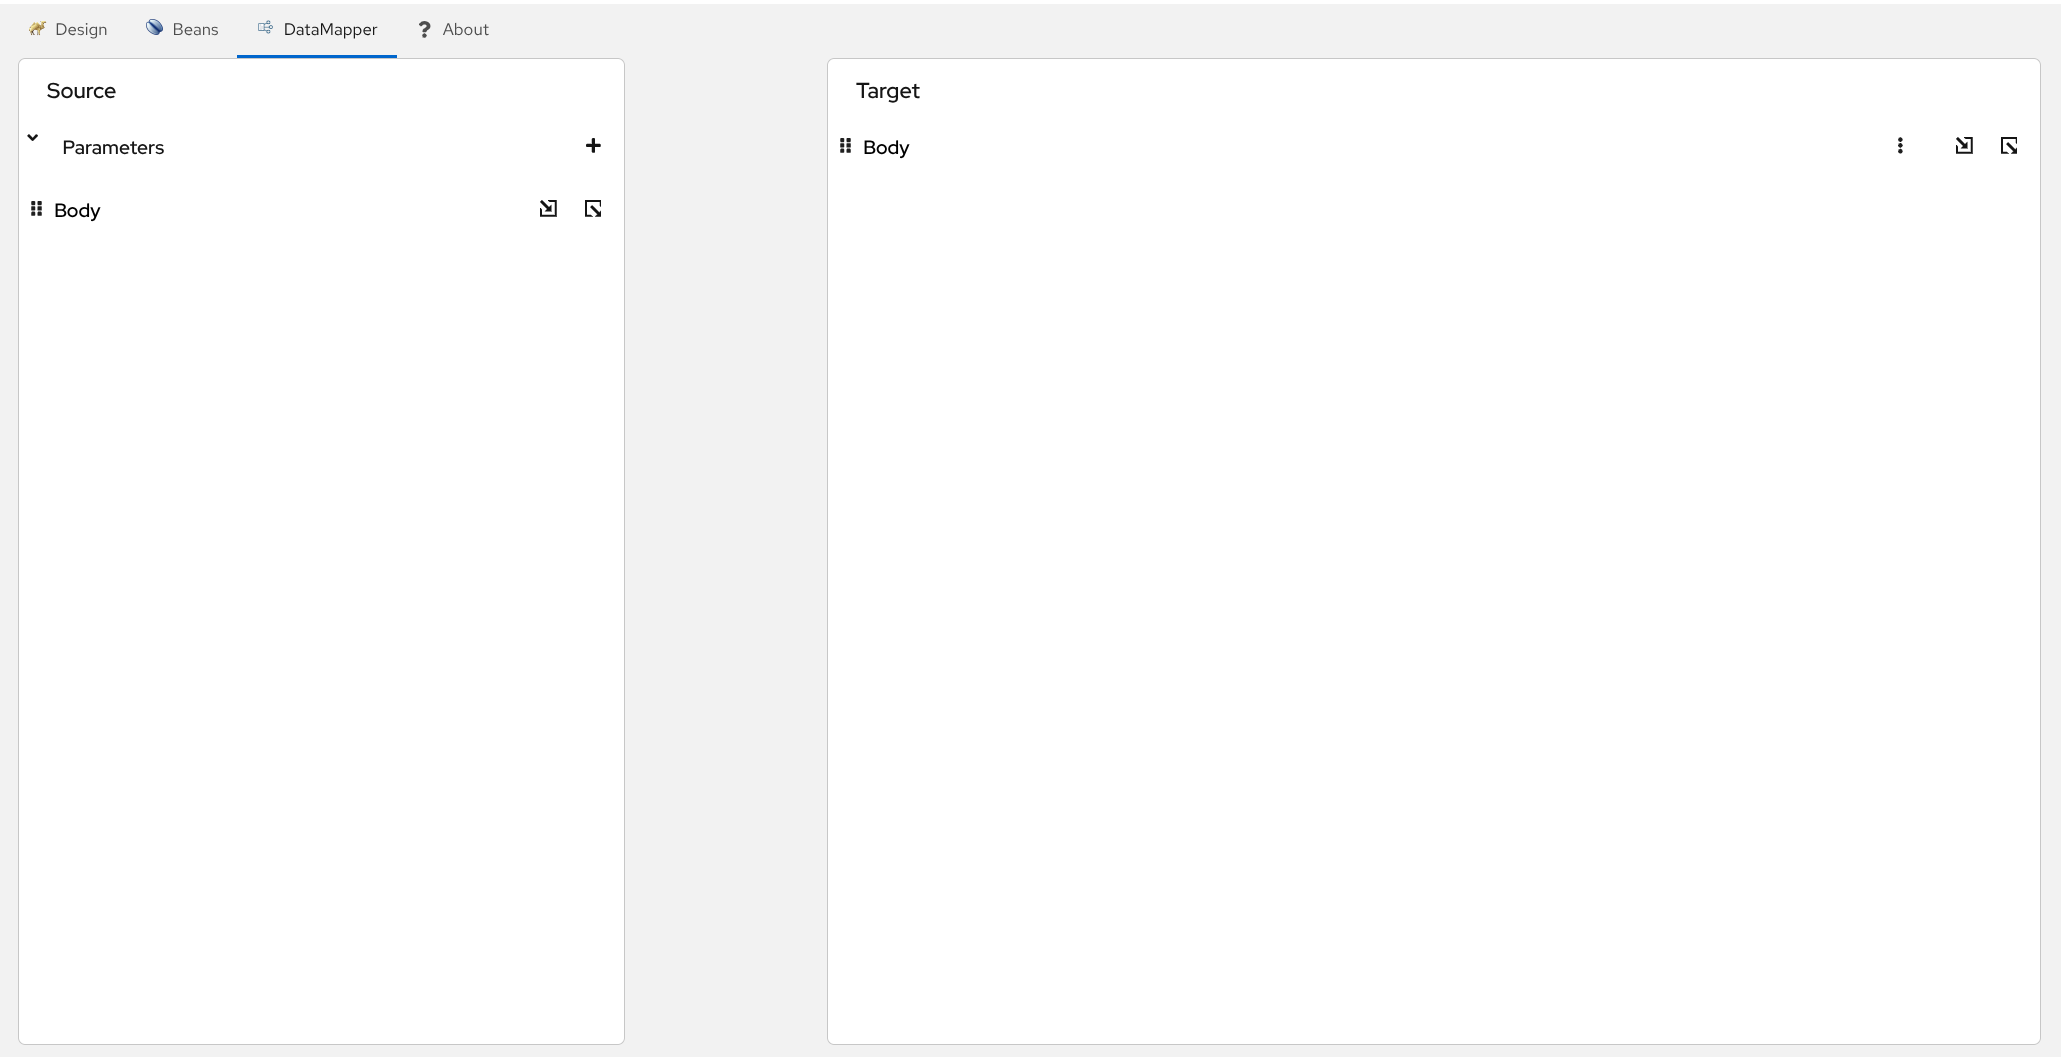
Blank DataMapper UI
Understanding the Interface
The DataMapper editor is divided into two main sections that represent the data transformation flow:
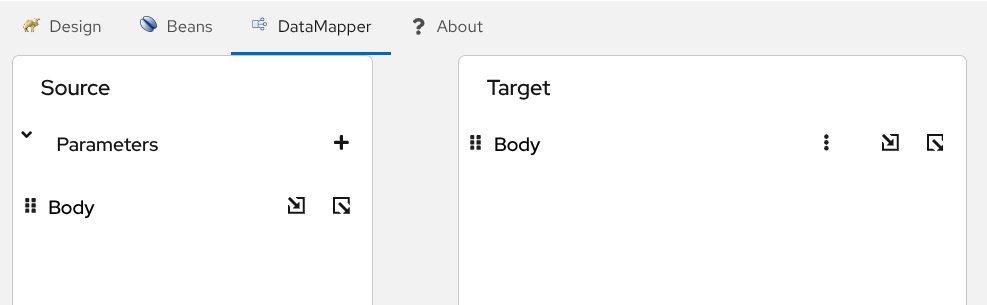
Source Section (Left Side)
The Source section represents where your data comes from - the input side of your mappings. This is where the DataMapper step reads the data from.
- Body - The incoming Camel Message Body (the main data payload)
- Parameters - Additional data from Camel Variables and Message Headers
Think of this as the “input” side of your transformation - the data you’re reading from.
Target Section (Right Side)
The Target section represents where your data goes to - the output side of your mappings. This is where the DataMapper step writes the transformed data.
- Body - The outgoing Camel Message Body (the transformed result)
Think of this as the “output” side of your transformation - the data structure you’re creating.
You can adjust the font size in the DataMapper interface to match your preference. Use the + and - magnifier icons in the toolbar to make the text larger or smaller for better readability.
Working with Parameters
Parameters allow you to access Camel Variables and Message Headers in your mappings. This is useful when you need to combine data from multiple sources in your transformation.
Add a Parameter
Follow the below steps to add a parameter.
Click the plus + button on the right side of the
Parameterstitle.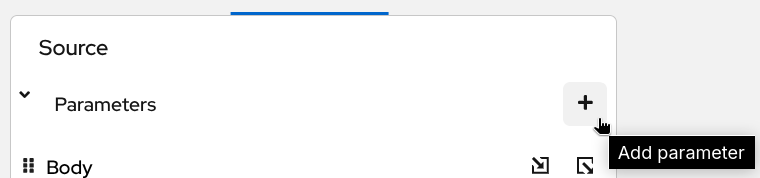
Parameters Now type the parameter name and click the check button on the right.

Add Parameter confirm
When you have many parameters, you can improve readability by hiding them visually. Click the eye icon next to the Parameters section to toggle the visibility of the parameter list.
While Camel Exchange Properties are also mapped to parameters in the current camel-xslt-saxon implementation, after the Camel Variables have been introduced, it is no longer recommended to store application data in Camel Exchange Properties. We encourage to use Camel Variables instead.
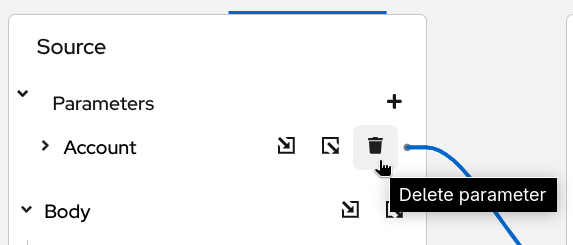
Delete a Parameter
To remove a parameter, click the trash icon next to it and confirm the deletion.
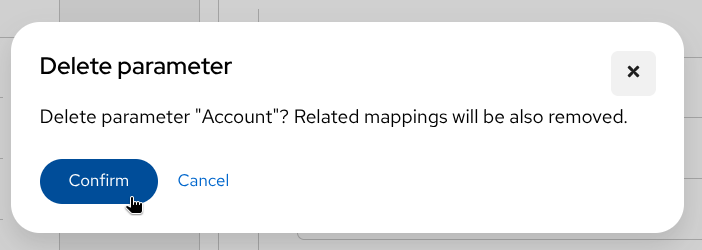
If the parameter is used in any mappings, those mappings will become invalid after deletion. Review your mappings before removing parameters.
Next Steps
Now that you understand the DataMapper interface, you can:
- Attach schemas to visualize your data structures
- Create mappings between source and target fields
- Add conditional logic for complex transformations